I started this project to help me improving my knowledge of colors, colors grading, camera position and of course lighting in Unity.
Pipeline
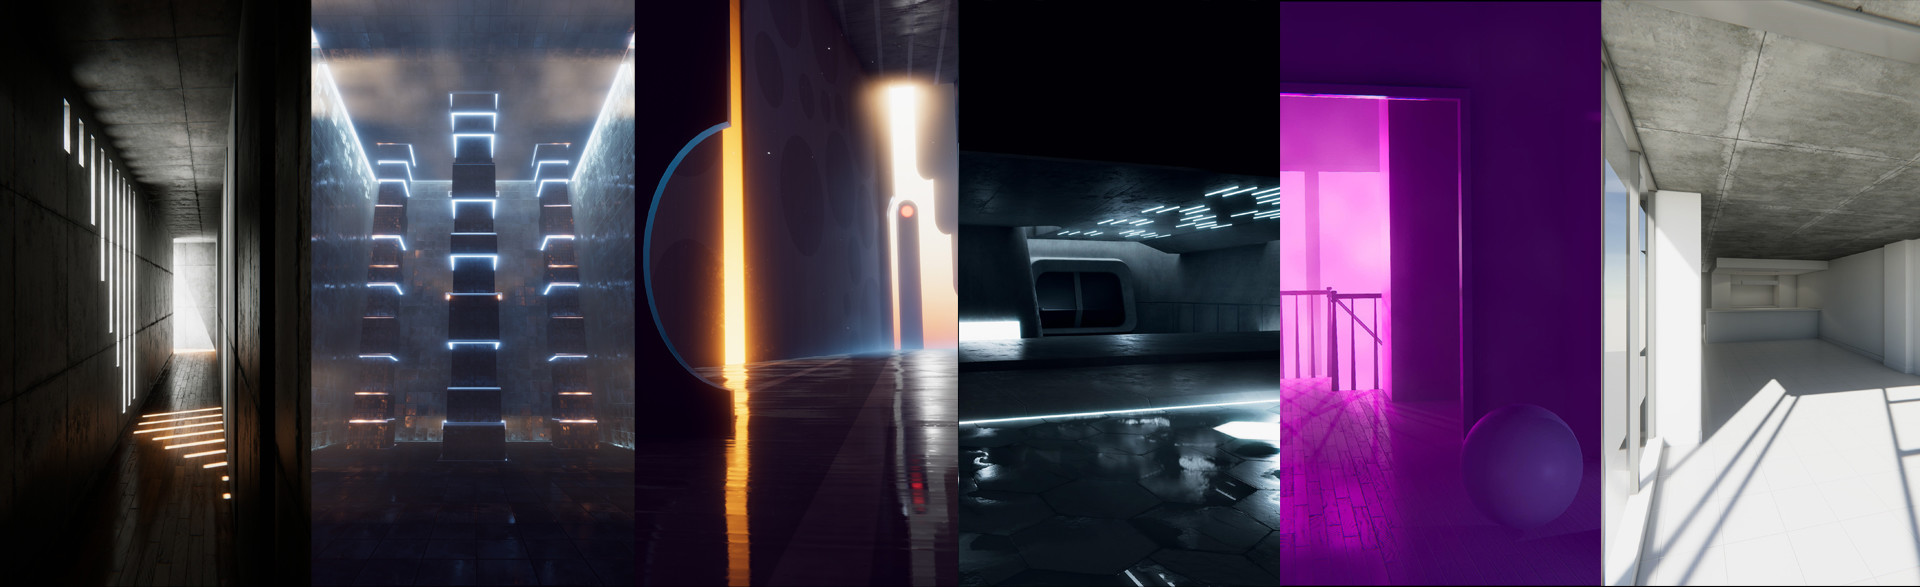
I started by spending a lot of time on Pinterest, you can find a lot of good photography, this is how I fell on the work of Tadao Ando and many other great architects and superb movies shot.
My deadline was 3 days per scene. I like to work with a deadline, it keeps you organized cause you have to planify and think of each step to don't lose any time.
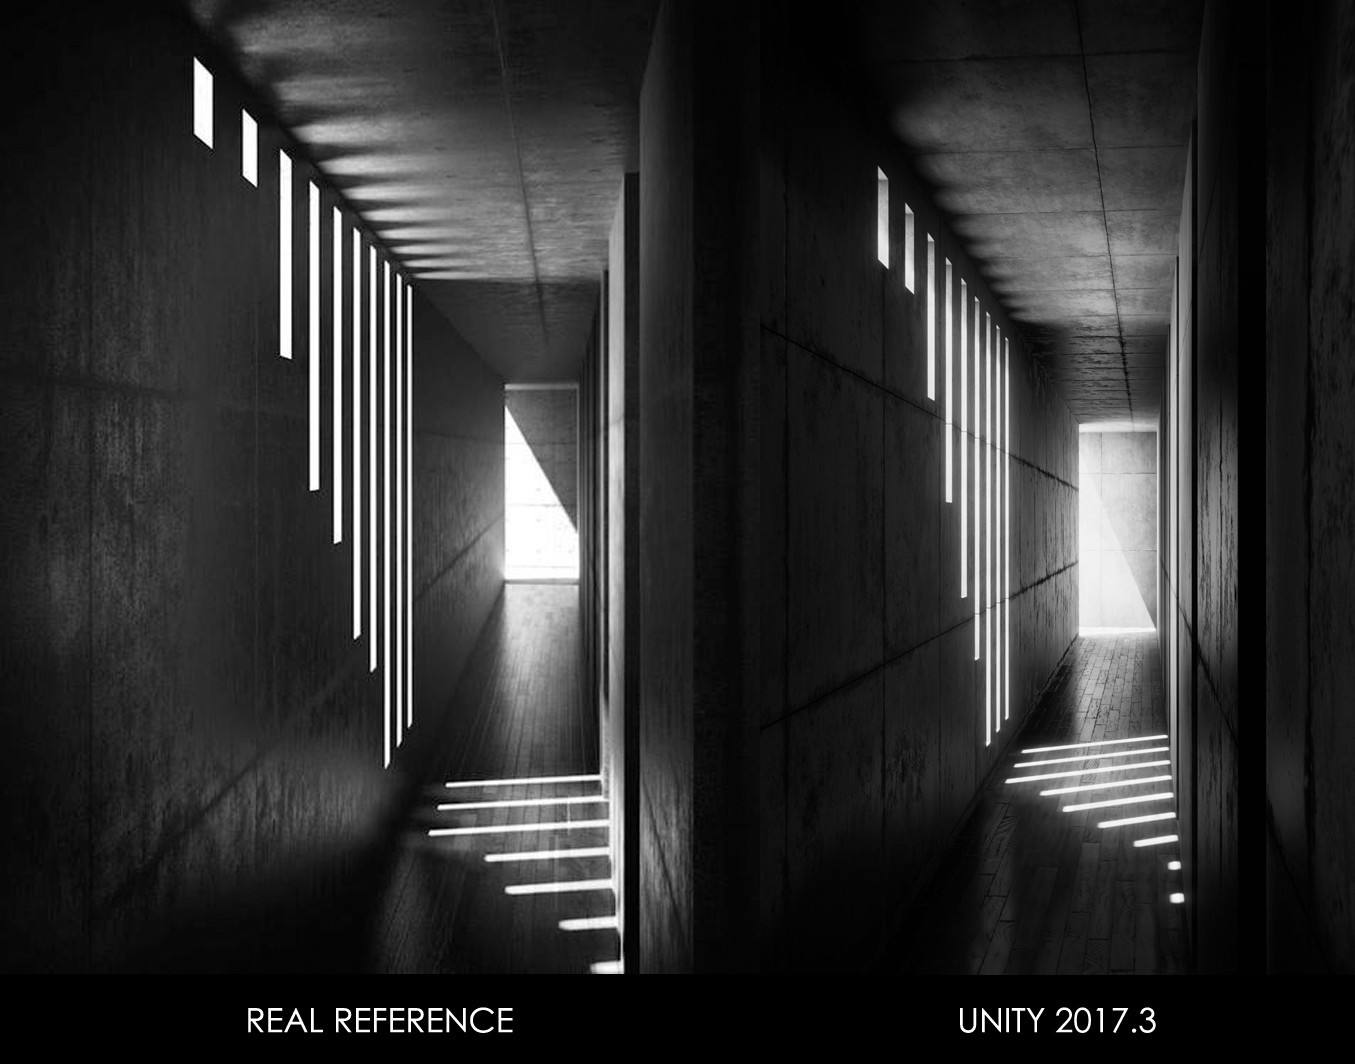
I didn't want to stay too long on 3DS max and that kind of composition is perfect to focus on the lighting.
I always isolate the meshes out of the camera range or far away for this exercise, to lower the lighting parameters on them in order to increase the other.
I watched a lot of videos, and articles about colors and composition in movies, this one is one of my favorites.
You have the name of the movies, good shots, everything you need. I admit that I wanted to do all the shot in this video haha :D.
Color Picker
After finding the good references, I used the website Adobe Color and Palette FX to pick some colors directly in the references.


LIGHTS
I tried to limit the use of SpotLight/point light I find it easier to have a smooth natural Light with a Mesh and an emissions material on it or the Skylight.
Lighting with an Emissive Object
- Pos: Natural Lighting.
- Cons: Take more time to bake for a good quality.
Lighting with a SpotLight/PointLight
- Pos: Easy to have a preview; take less time to bake for a good quality; Mixed mode to keep the specular Impact.
- Cons: the angle of the spotlight, Harder to make it look natural.
I used Enlighten, for baking most of the scene except the "Tron" where I used the new Progressive Lightmapper in BETA.
I find the progressive Lightmapper really realist without waiting for more than 3hours with the Enlighten, especially if you're using an Emissive object like me.
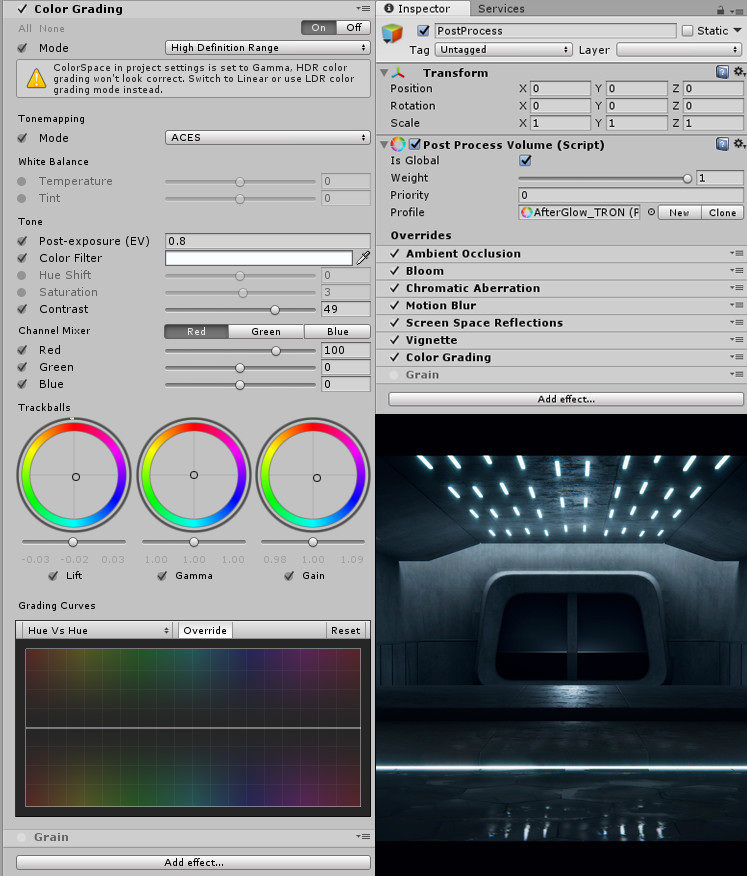
The new Post Processing stack V2 (Beta) is really outstanding, I'm really impatient to touch the final tool. It is really easy to use it, you need to try!
I habitually choosing the ACES mode for the Tonemapping which uses a close approximation of the reference ACES tonemapper for a more filmic look.
The trackballs is THE thing, and I love the Lift which has the most effect on the shadows, it allows you to give colors to them.
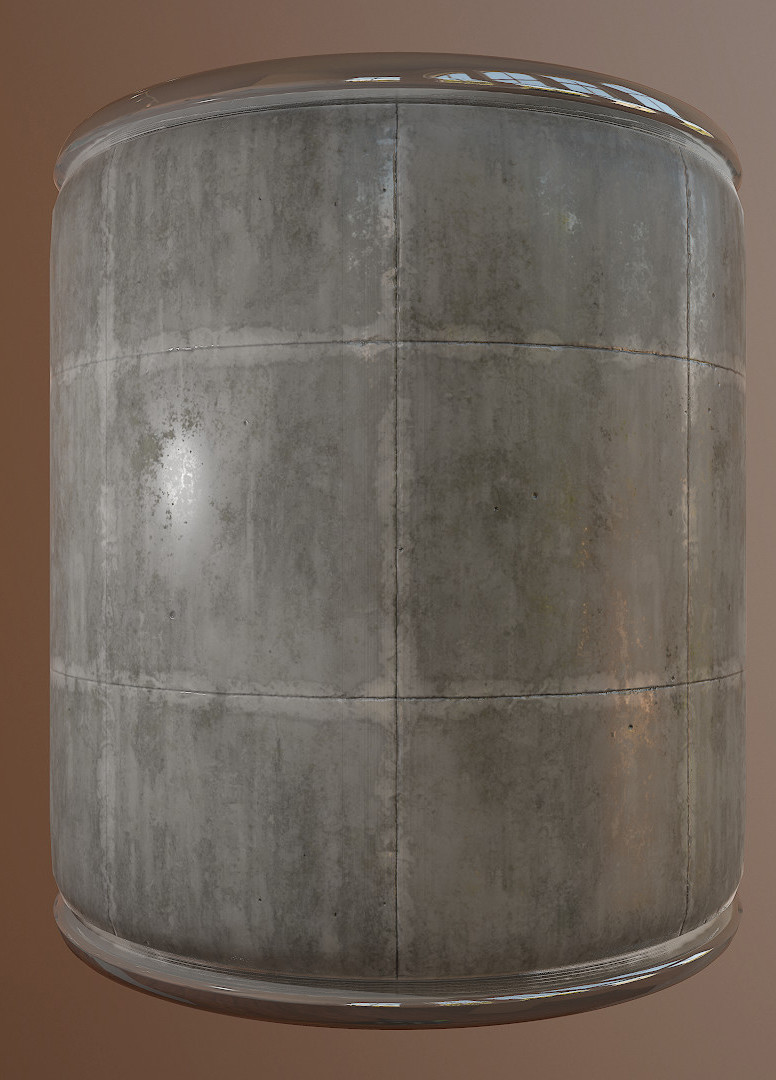
Just for quoting people! I didn't want to have any material first but I learned a few things in substance designer with Pierre Fleau and it was a good opportunity so why not. Thanks to Rogelio Olguin for his 3D presentation model.
I will do more in-engine talk and screenshots in the second part.
enjoy